How to pack dishes and glasses in reusable moving bins
A reusable bin gives dishes an outer container. The protection inside still comes from separating each piece, cushioning it and leaving enough space for the lid to close normally.
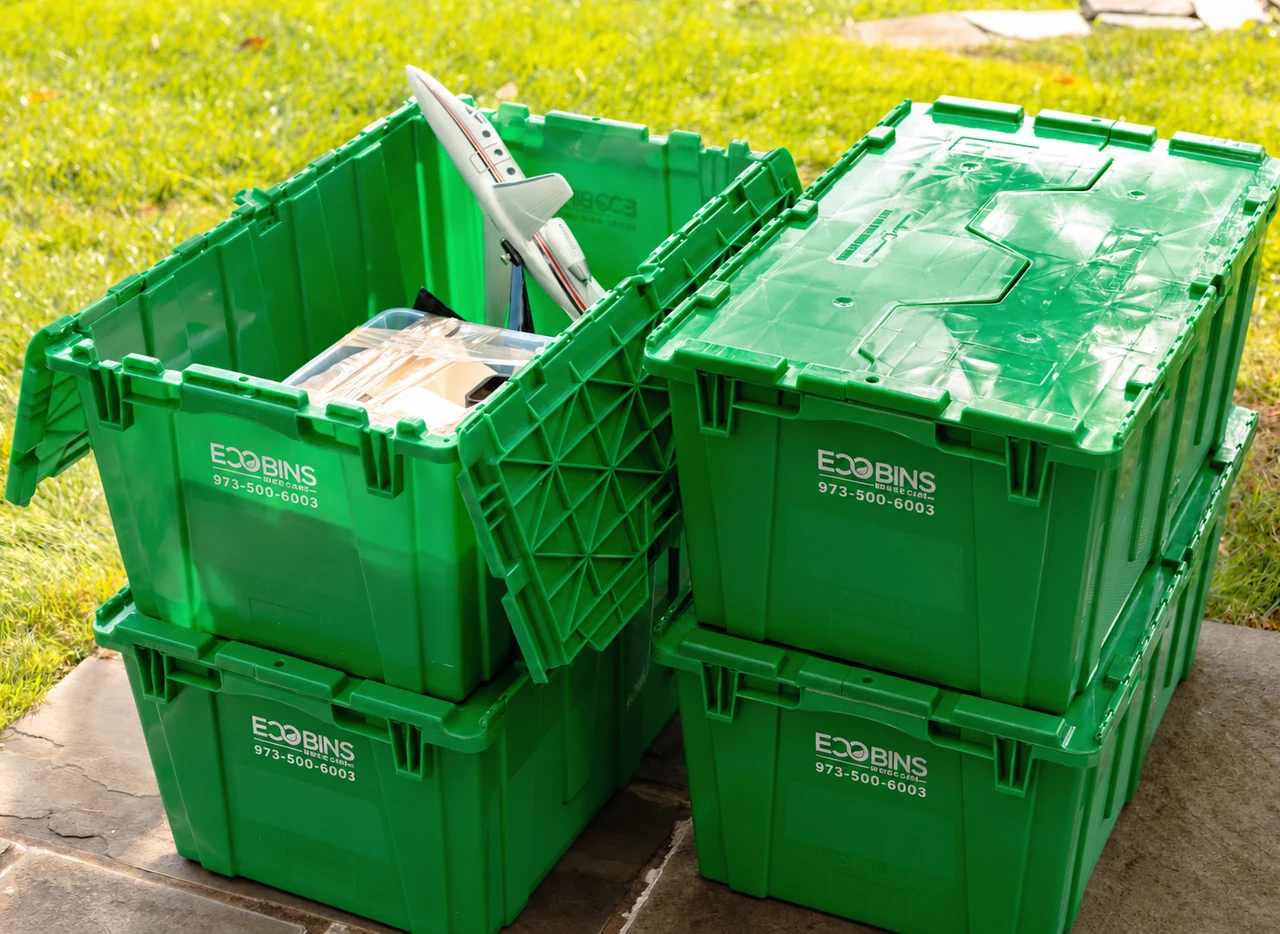
Wrap each breakable individually and keep it from contacting other items or the bin walls. EcoBins recommends no more than 45 pounds per bin; use lighter loads when needed.
Separate ordinary dishes from pieces needing special packing
Lay out plates, bowls, mugs, glasses and serving pieces before you start. Keep a few everyday items aside for meals before the move. Pack the kitchen by item type so a heavy pan does not end up beside a thin wineglass just because there is space.
EcoBins measure 27 inches long, 17 inches wide and 12 inches deep. Those overall dimensions are not a promise that a wrapped item will fit inside. Allow for the bin shape, cushioning and the closed lid. Tall stemware, oversized platters and unusually delicate pieces may need a purpose-made container instead.
Set aside chipped or damaged pieces for a separate decision. If an item is irreplaceable or you are unsure how to protect it, discuss its packing with your mover before it goes into the general kitchen load.
Prepare a clean surface and the right materials
Gather clean packing paper, suitable cushioning, removable labels and a marker. Dividers can help separate glassware if they fit the container and leave space for padding. Do not assume a divider made for a particular cardboard box will fit an EcoBin.
Start with dry dishes and a dry bin. Place cushioning across the bottom and along the sides before adding breakables. Keep a clear spot for finished, wrapped pieces and another for items still waiting to be packed. This makes it easier to see what needs protection before you reach for the next item.
For general packaging principles, FedEx’s breakables guidance emphasizes individual wrapping, cushioning and limiting movement. Its shipping-box specifications are not an EcoBins packing guarantee; choose protection appropriate to your actual dishes and move.
Pack plates in cushioned rows
Wrap plates individually so their surfaces and edges are covered. Stand wrapped plates on their edges in a cushioned row, with protective material between them. Avoid creating one tall, heavy stack of bare dishes.
Wrap bowls separately too. If nesting suitable bowls, maintain a cushioning layer between each piece and avoid forcing them together. Support the group so the pieces cannot knock against one another. Add padding beside the row rather than wedging in an unwrapped mug to fill a gap.
U-Haul’s dish-packing guidance similarly recommends protected rows and individual separation. Check the actual height of your wrapped dishes before committing to an arrangement; nothing should need the lid to hold it down.
Give glasses, handles and stems their own space
Wrap each glass separately. Gently place paper inside the hollow, protect the outside, and keep glasses upright in individual cushioned spaces or suitable dividers. Do not nest drinking glasses inside one another.
Give mug handles enough wrapping and clearance that the next item cannot press against them. Protect a wineglass stem as well as its bowl; avoid tight wrapping that puts stress on the stem. Never balance a heavy bowl or plate on top of glassware.
When a tall glass plus padding does not fit beneath the closed lid, use a more suitable container. Reusable bins can hold part of your kitchen while specialist packaging handles the pieces that need it.
Check weight and lid clearance before finishing
Check the weight as you pack. EcoBins recommends no more than 45 pounds per bin, and a lighter load may be more manageable for you or your movers. Empty space does not mean you should add more dishes.
Fill gaps with suitable cushioning so wrapped items are supported without being compressed. Add protection above the contents and close both lid halves gently. If the lid pushes on a plate edge or the top of a glass, stop and rearrange the contents or choose another container.
Keep cast-iron cookware, knives and small appliances out of the dish-and-glass load. They need their own appropriate packing, and their weight or edges should not bear against fragile pieces. Do not shake a finished bin to test it.
Label clearly and unpack onto a clear surface
Use a label such as “Kitchen · K01 · Everyday plates · Fragile” on the designated textured label area. Mark a small everyday set “Open first” and tell the people moving the bins which ones contain breakables. Our labeling guide shows how to match those IDs to an inventory.
At the new home, place the bin on a stable surface at a comfortable working height. Unwrap one item at a time over a clear area. Check all paper and cushioning before putting it aside so a small lid or saucer does not go missing with the wrapping.
Before EcoBins collection, empty the bins and remove labels. Leave enough unpacking time in your rental schedule. Review bin packages and available packing extras when booking your New Jersey delivery and pickup.
A little more ready for moving day.
Choose your bins and rental length. We’ll check your New Jersey addresses and show your total before payment.
Get your bins